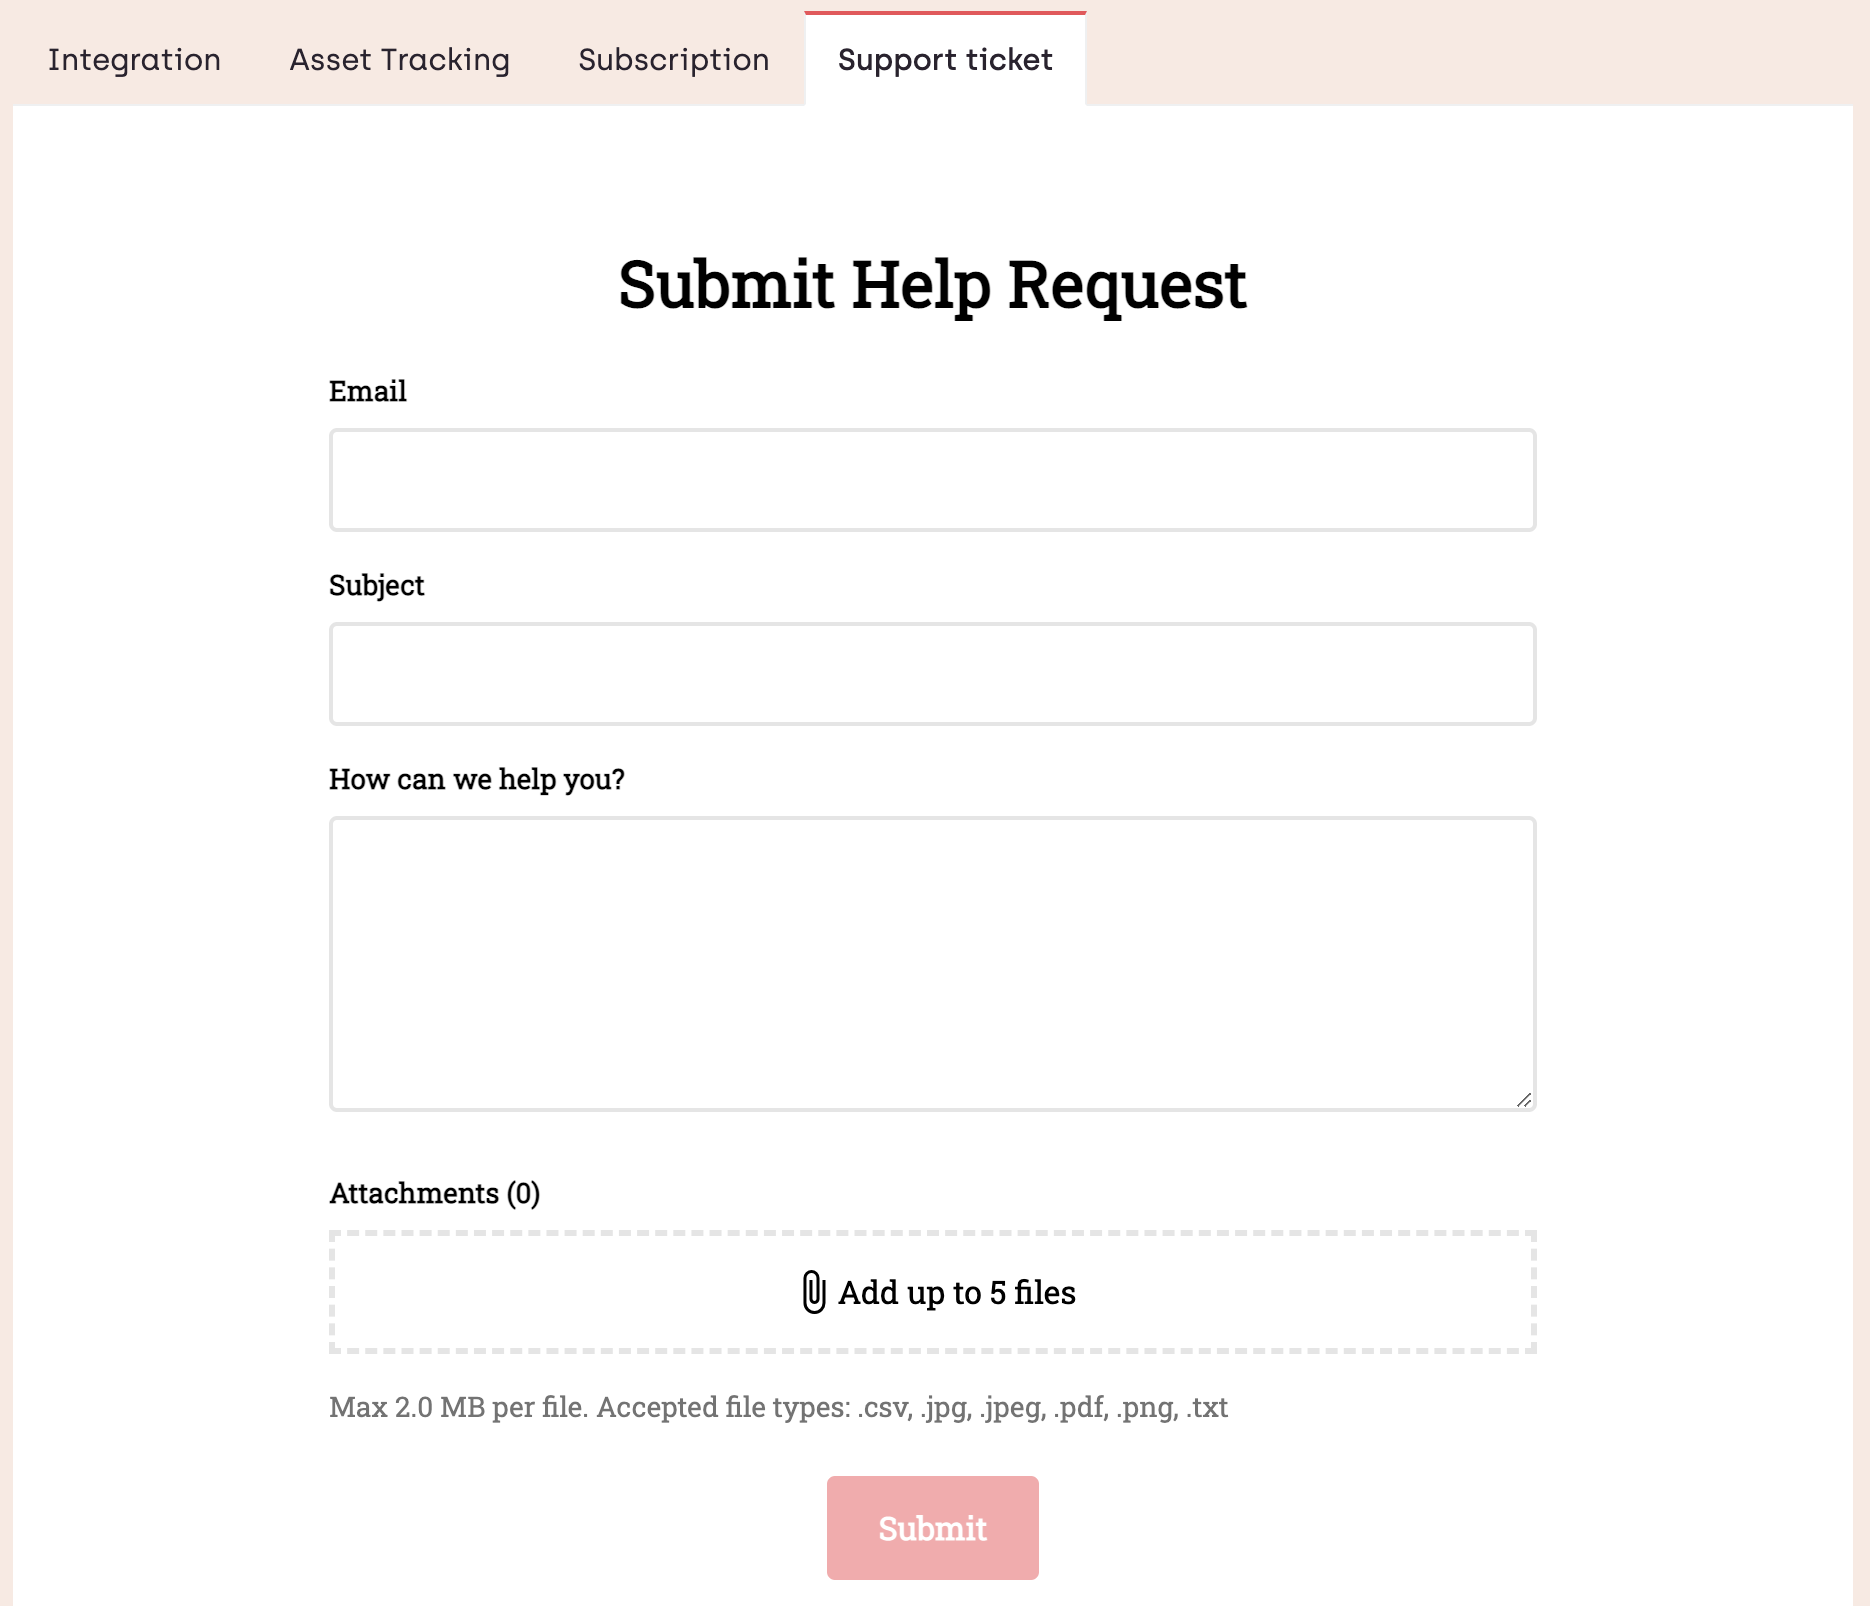
Integration Dashboard
The integration dashboard is what controls all the configurable parts of the connector.
Changes that you make here are reflected the Sitecore connector after you reload the configuration there.
Changes made in the integration dashboard are not available in Sitecore until you reload the configuration there or until the Sitecore application pool is recycled.
Login
To access your integration dashboard, simply browse to the integration portal (opens in a new tab) and click the Login button in the header.

You are then presented with the login dialog where you enter your Email and Password.
After successfully logging in, you are redirect to your integration dashboard.

Dashboard overview
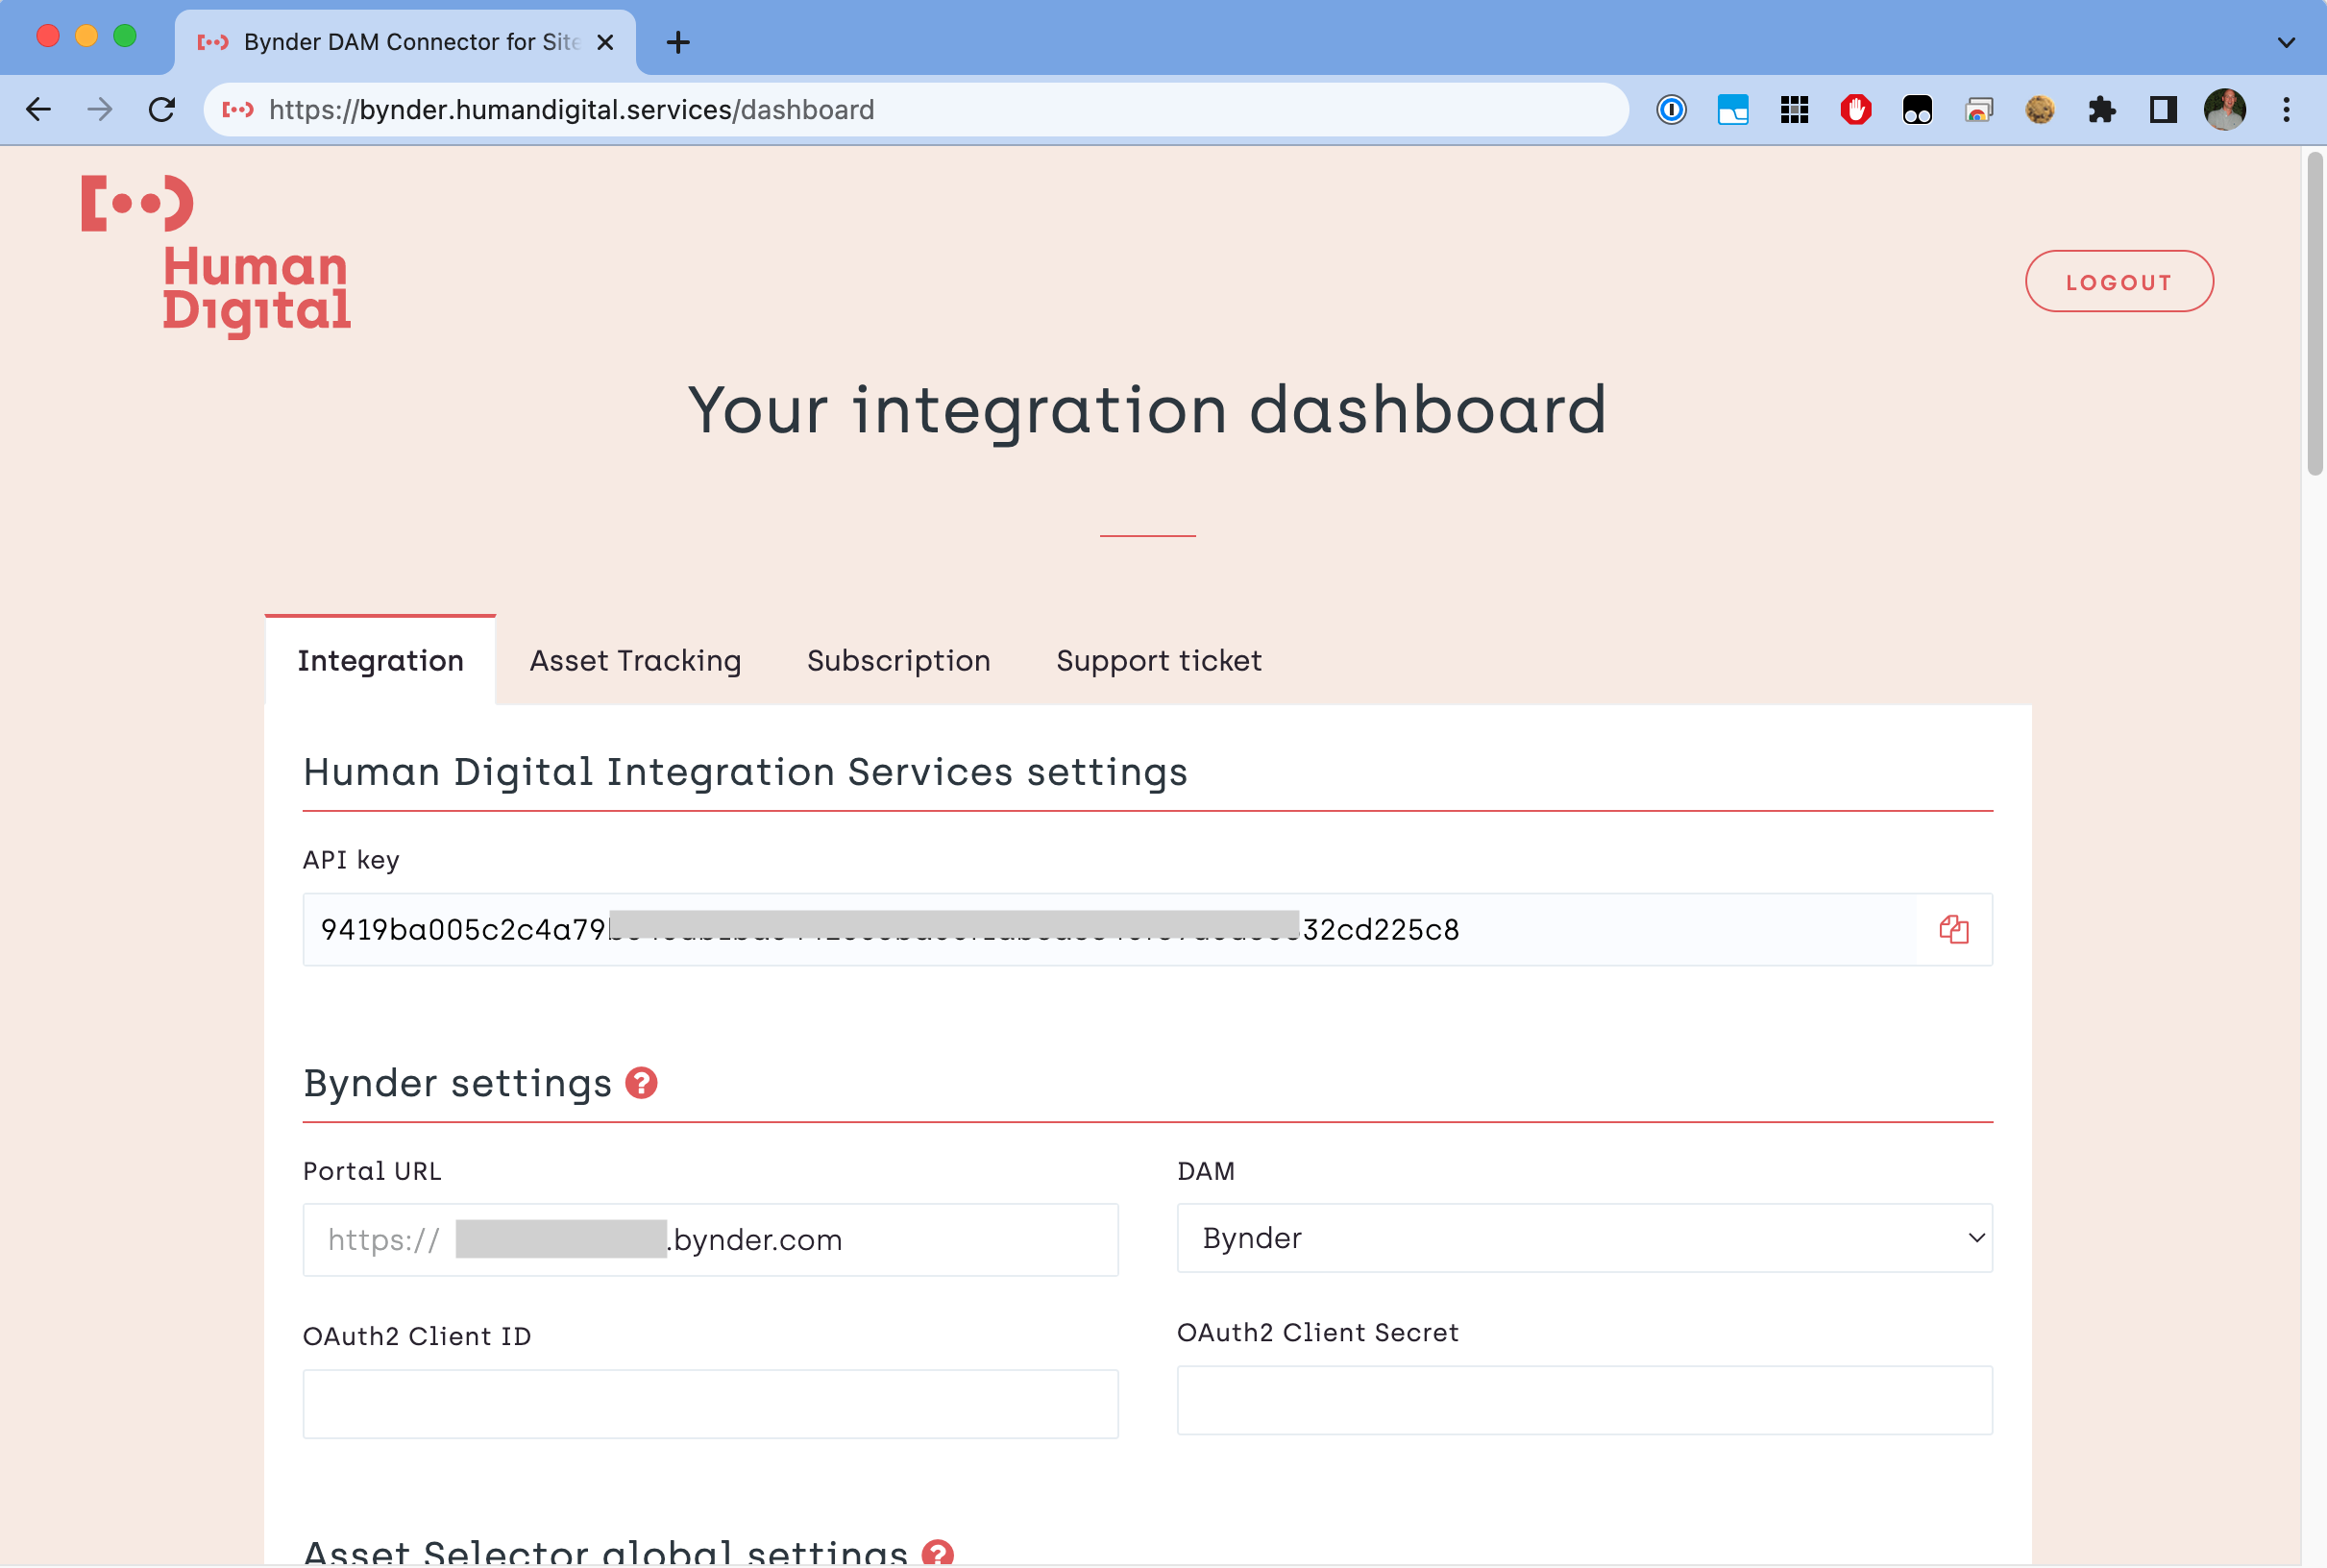
The dashboard consists of four main sections:

Integration settings
API key
This is where you retrieve your unique API key.
Paste this key into the DAM Connector Settings item.

| Field name | Description |
|---|---|
API key | Read-only field that allows you to copy your API key to the clipboard. |
Bynder settings
This is where you configure the details for your organization's Bynder portal.

| Field name | Description |
|---|---|
Portal URL | The domain of your Bynder or Webdam portal. |
DAM | Select the type of DAM you are using (Bynder or Webdam). |
OAuth2 Client ID | The client ID of the OAuth2 App that is used to access the Bynder API. See: Creating an OAuth2 app in Bynder. Does not apply to Webdam. |
OAuth2 Client Secret | The secret of the OAuth2 App that is used to access the Bynder API. See: Creating an OAuth2 app in Bynder. Does not apply to Webdam. |
Creating an OAuth2 app in Bynder
You must create an OAuth App in your Bynder Portal Settings to allow our integration to connect to Bynder. This is used for the upload feature in the Asset Selector and for the Asset Tracking feature.
Follow the instructions from Create your OAuth Apps (opens in a new tab) on the Bynder Support portal. That will guide you through the process of creating an OAuth App and retrieving the ClientId and CLientSecret tokens.
This is a quick overview of steps for creating an OAuth App as described in the Bynder Support article (opens in a new tab):
- Navigate to the
OAuth Apps(https://[your-bynder-domain]/pysettings/oauth2/) section of your Bynder Portal Settings. - Choose
Add new app. - Fill in the desired
Application name. - Select grant type
Client Credentialsand select a user that represents the permissions the app will take. - Select the desired scopes. The minimum should be:
asset:readasset.usage:readasset.usage:writecollection:readmeta.assetbank:readmeta.assetbank:writemeta.workflow:read
- Click
Register applicationto finish. - You will now receive the
Client IDandClient Secrettokens.
Asset Selector global settings
These are global settings for the Asset Selector that are applied to any instance of the selector.

| Field name | Description |
|---|---|
Language | The asset selector interface language. |
Preview derivative | What derivative is used when showing the asset in the editor. |
Enable Upload feature | Enable or disable (hide) the Upload button in the Asset Selector. |
Asset Selector field settings
These are settings for the Asset Selector that may be set per content field.
For example, if you would like to have an Image field that is used for "banner" images, you may want to specify "Banner" as the Default search term for that particular field.
There is one Global field setting which acts as the default setting for all fields that do not have their own explicit field setting.
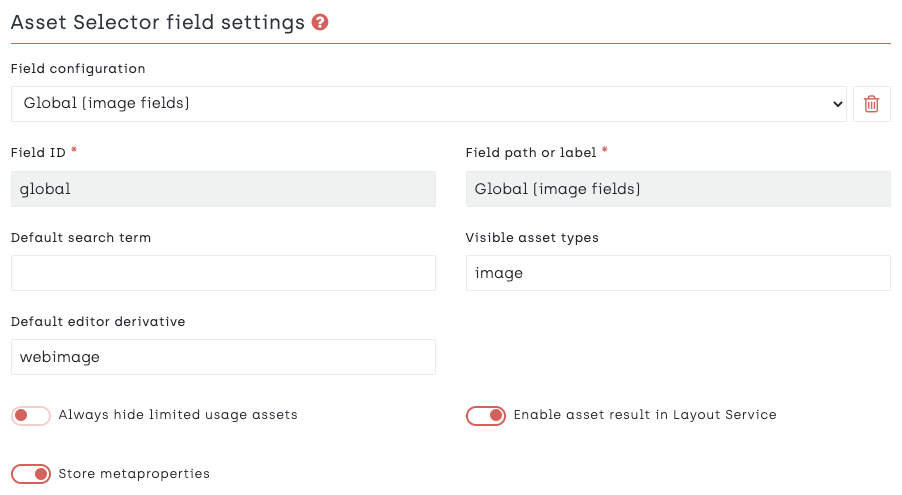
| Field name | Description |
|---|---|
Field | The content field in Sitecore for which you would like to apply the settings. |
Default search term | The default search term that is applied when the Asset Selector is opened. |
Visible asset types | Asset types that are visible in the Asset Selector. Common types are: image, video, document, audio |
Always hide limited usage assets | Hide assets that are marked with "limited usage". |
Enable asset result in Layout Service | Show the complete asset object in the Layout Service (used for JSS / Headless Services). May be disabled due to performance overhead. |
Advanced settings

| Field name | Description |
|---|---|
Enable Remote Logging | Enable this if you would like the connector to write log calls to the API so our support engineers can view them remotely. |
Asset Tracking
With Asset Tracking, we enable you to keep track of which Bynder assets are being used by which Sitecore items. This may help to determine whether or not it is safe to remove assets from Bynder or if you need to replace a certain asset in all Sitecore items that are using it.
Asset Tracking settings
![]()
| Field name | Description |
|---|---|
Enable Asset Tracker | Enable asset tracking. When disabled, no tracking data will be submitted to our API. |
Sitecore CM domain | Domain of the Sitecore Content Management server. Used in the construction of hyperlinks to Sitecore in the asset tracker search results. |
Asset Tracking search
The Asset Tracking search interface allows you to search by Bynder asset or Sitecore item and get returned usage data for the particular item you seek.
![]()
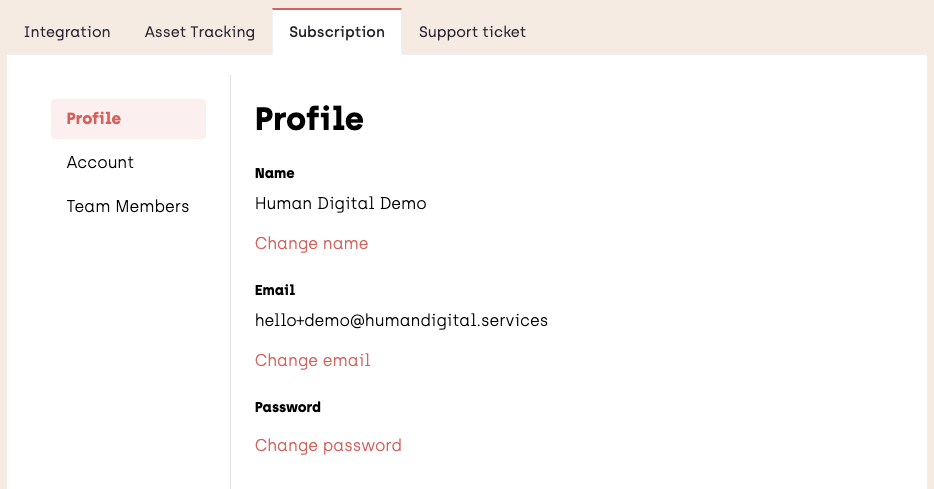
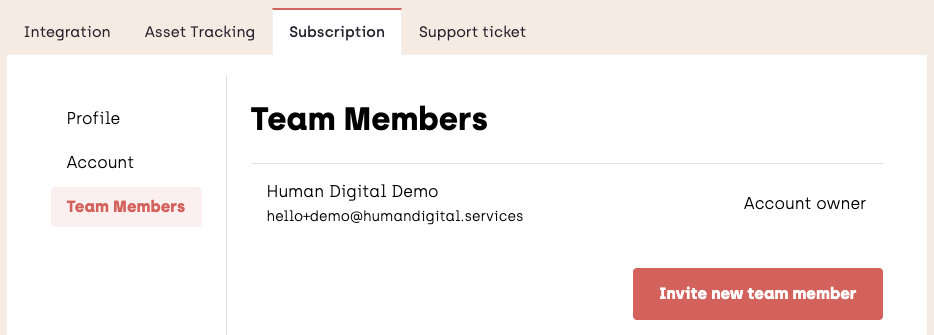
Subscription settings
Support ticket
