Selecting Assets
Opening the asset selector
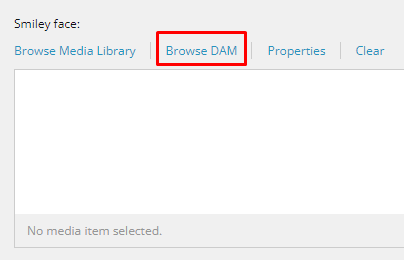
- The first step you need to do in order to open the Asset Selector is to click on the ‘Browse DAM’ link and the dialog will show up.
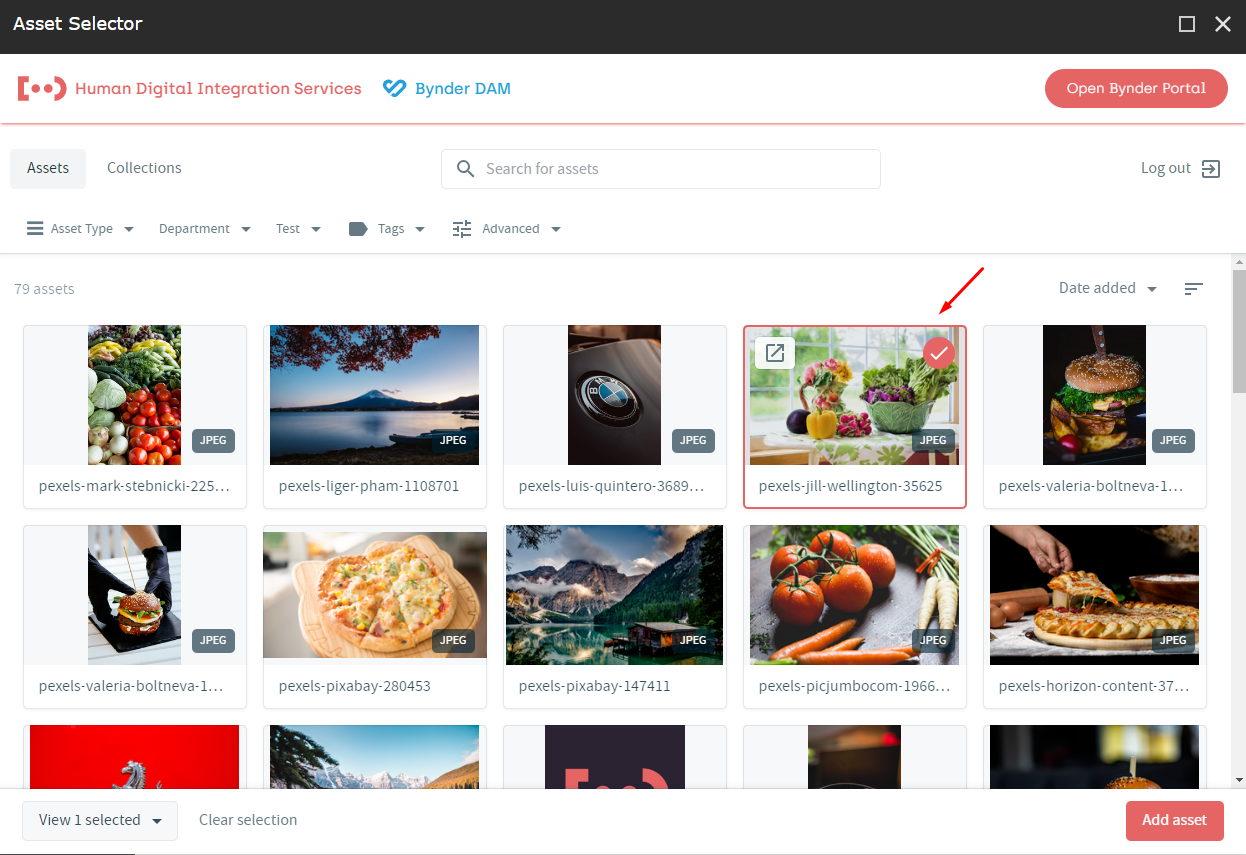
- Next, you will notice the pop-up dialog on your screen where you can select an asset.
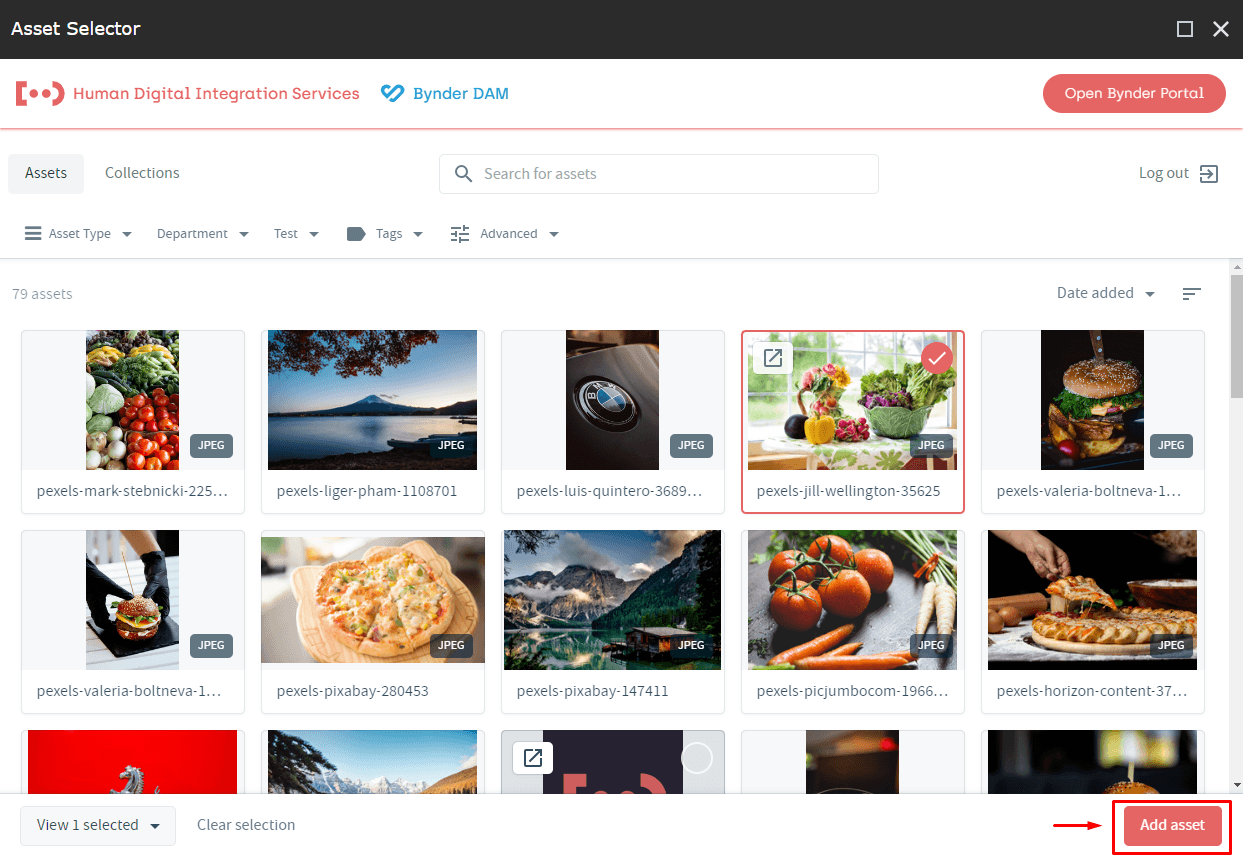
- Click on the ‘Add asset’ link to confirm.
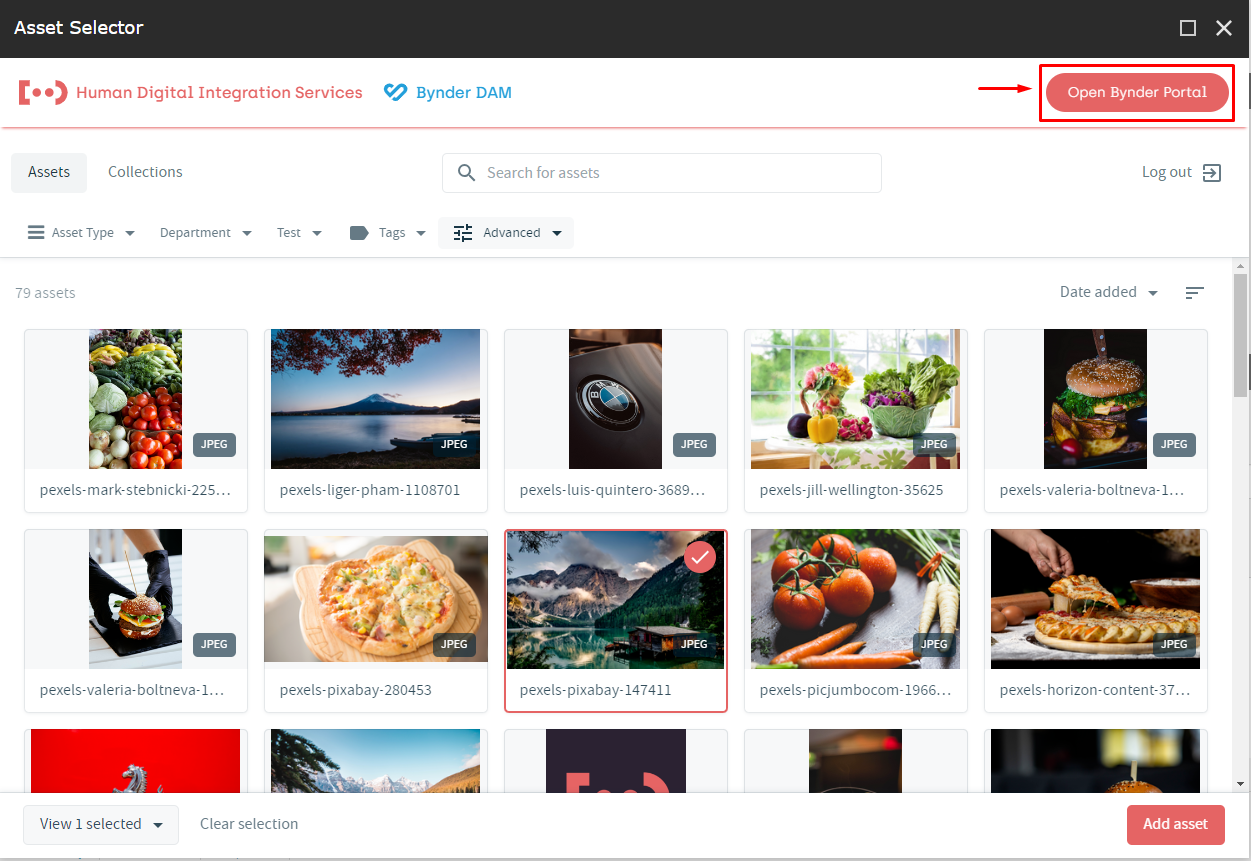
Besides that, when you open the Asset Selector there is an option 'Open Bynder Portal' that opens the Bynder Portal directly.
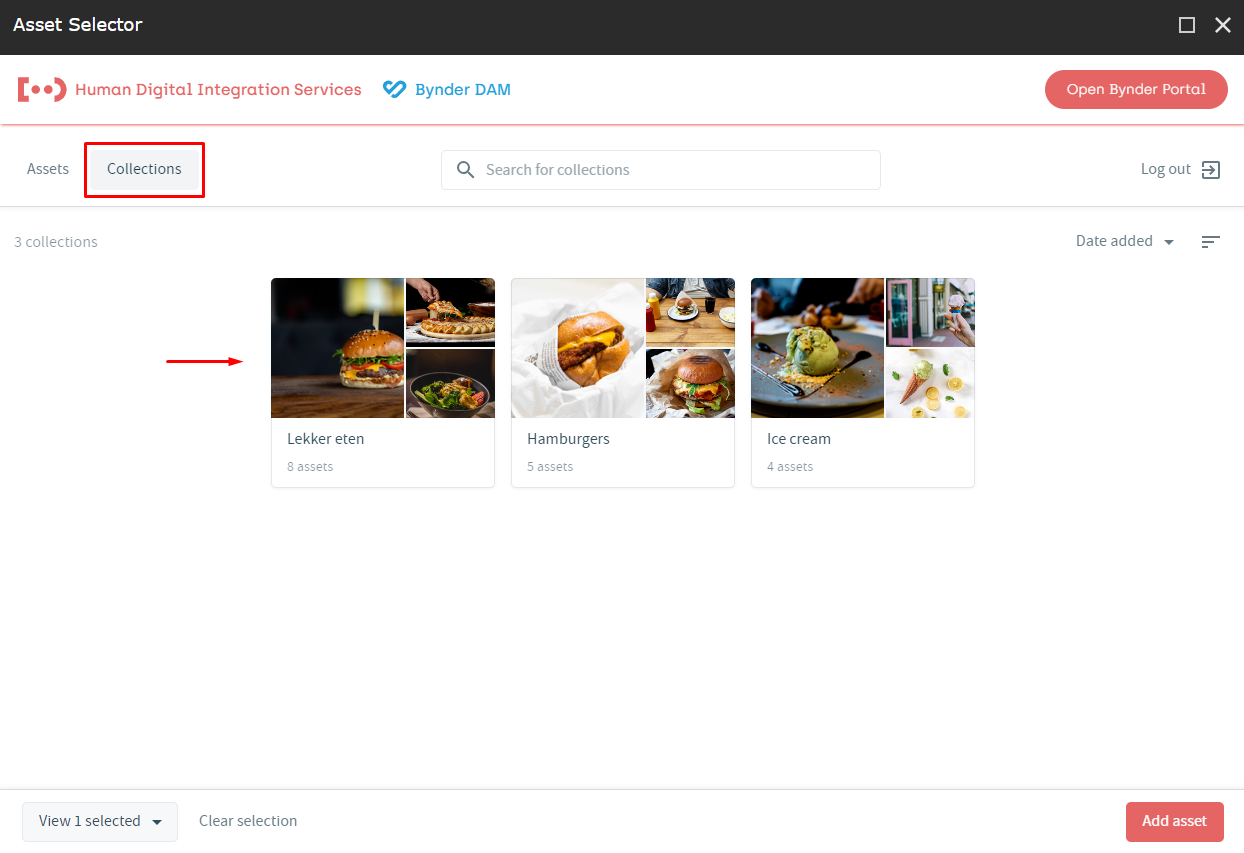
Also, if you select Collections tab, you can pick the assets from different collections that you have previously created.
The difference between the custom field types
With the Image (DAM, Single Asset) field, you are allowed to select a single image asset from Bynder DAM. Web developer decides which derivative to use for rendering.
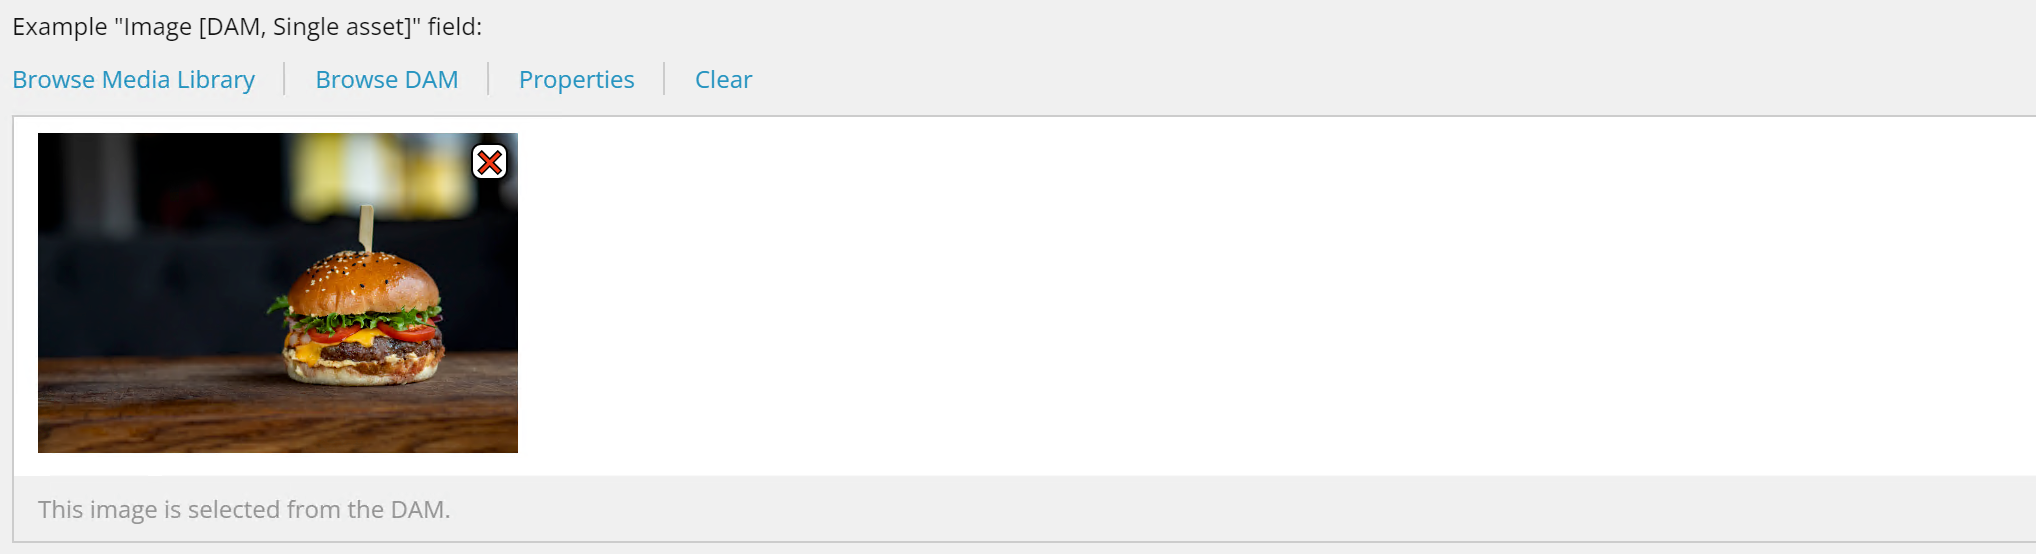
Image (DAM, Multi Asset) field enables you to add multiple images from Bynder DAM. Web developer decides which derivative to use for rendering.
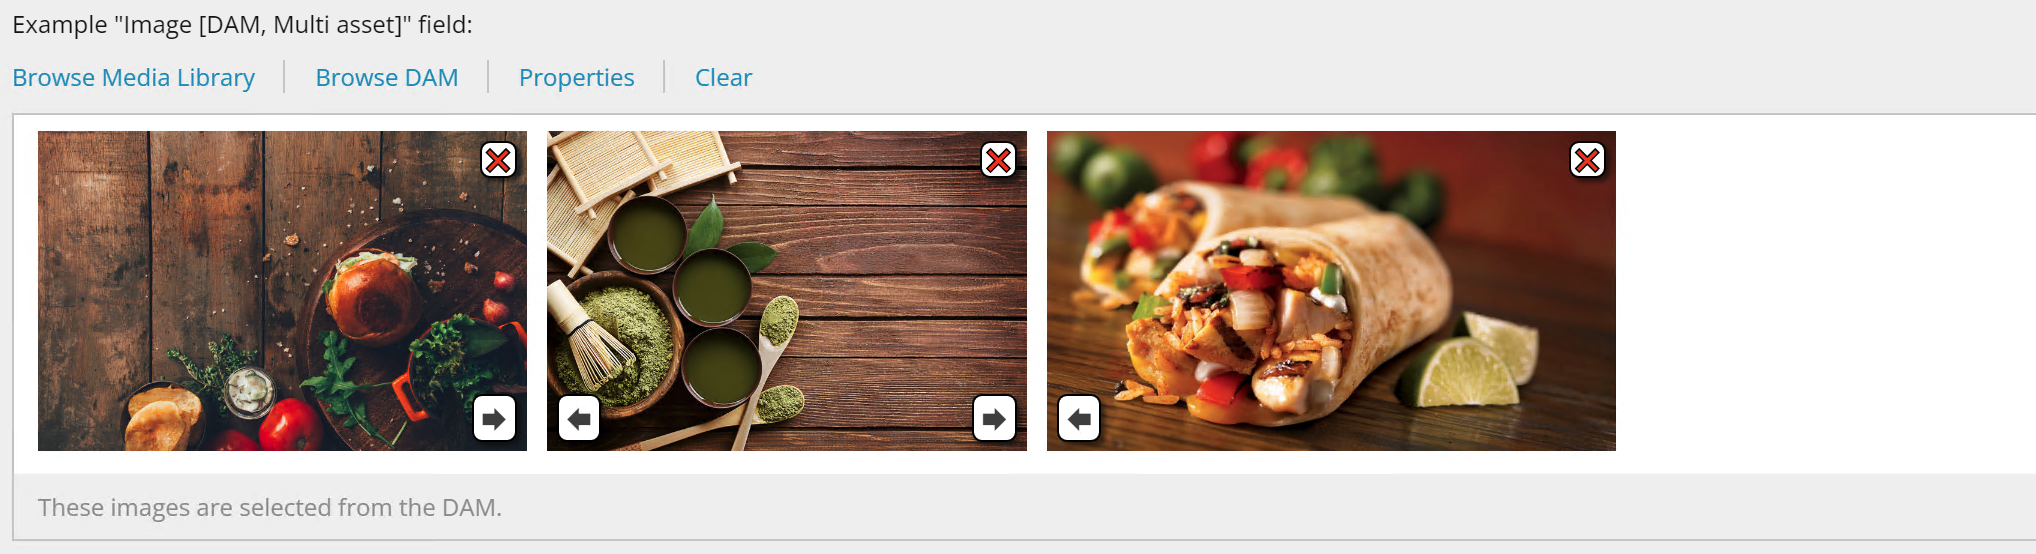
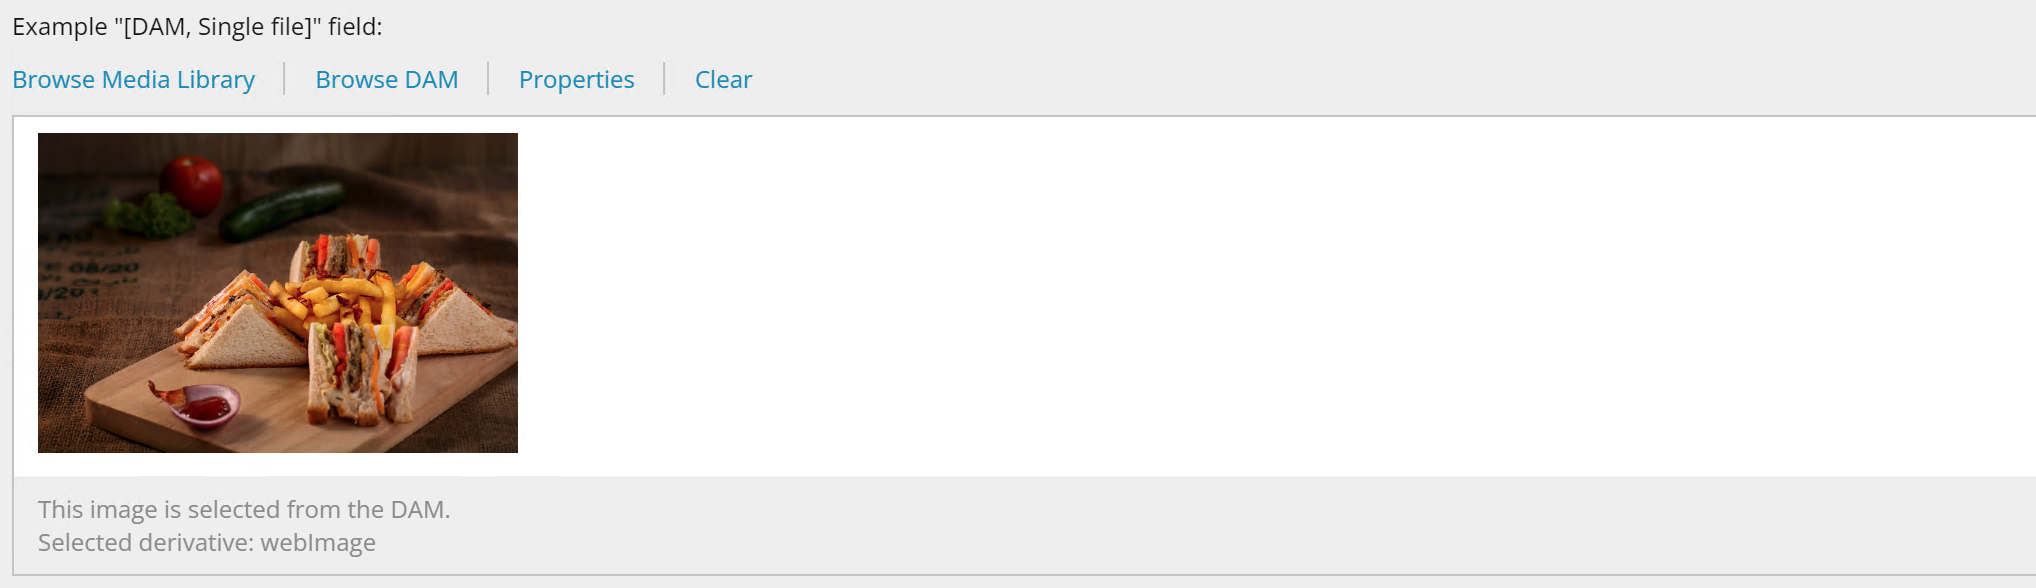
Image (DAM, Single File) field enables you to add any asset type from Bynder DAM. Content author decides which derivative to use for rendering.
If you choose this field type, you can apply transformations to the selected asset. In one of the following sections, you may read more about transformations.
General Link (DAM) field enables you to to choose a single derivative of an any asset type from Bynder.

To find out more about the custom field types, please visit the Custom Field Types page.
Rich-Text Editor
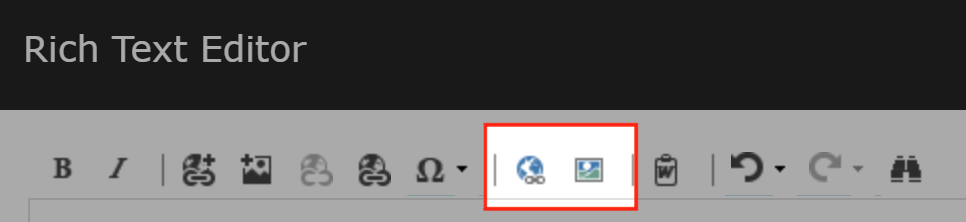
- If you use Sitecore Rich Text simple type, you will notice that this field has been extended with two new options. First, you need to select this field type in your template.

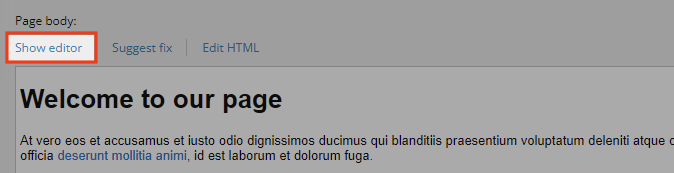
- If you open the 'Show editor' link, the dialog will show up.
- Notice that there are two additional options. The left side icon enables you to add files from Bynder DAM. By selecting the right side icon, you will be able to add an image from Bynder DAM.
After you select any icon that we have previously mentioned, the Asset selector will show up.
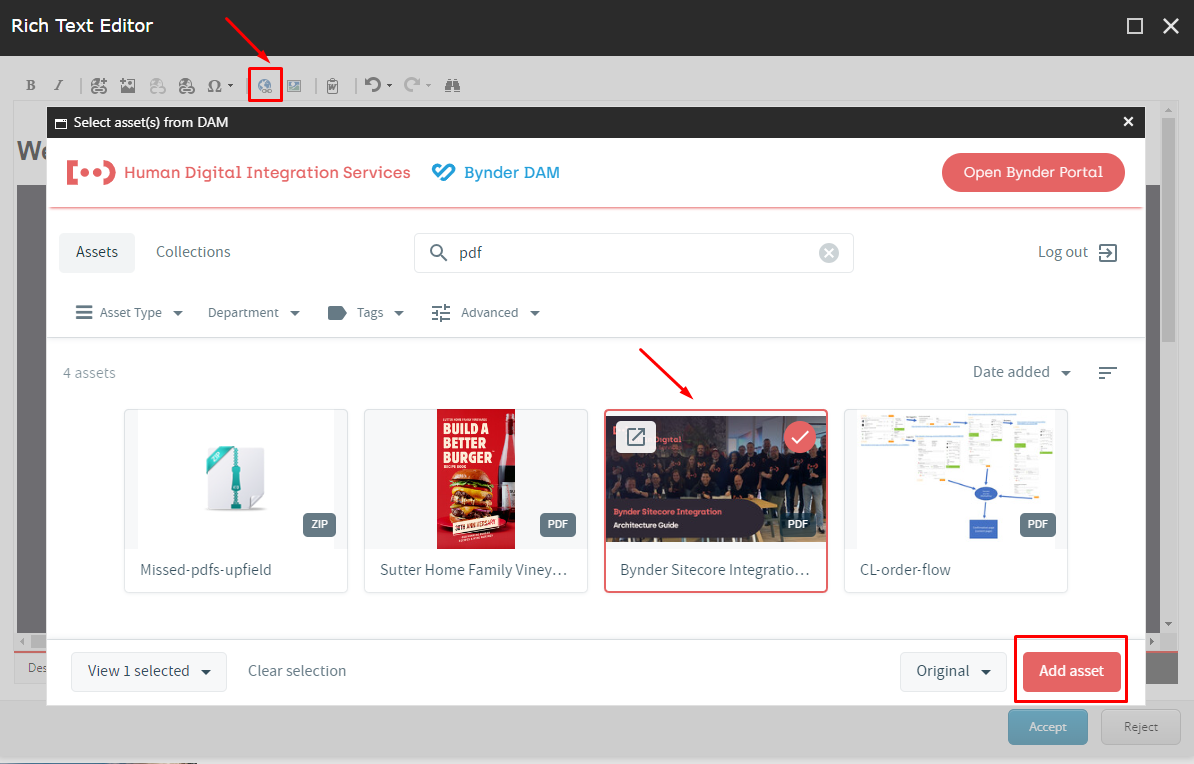
- The following example shows how you can add a new file from Bynder DAM. In case you choose the left side icon and try to add an image from Bynder, you will notice that the 'Add asset' button is enabled for the files only.
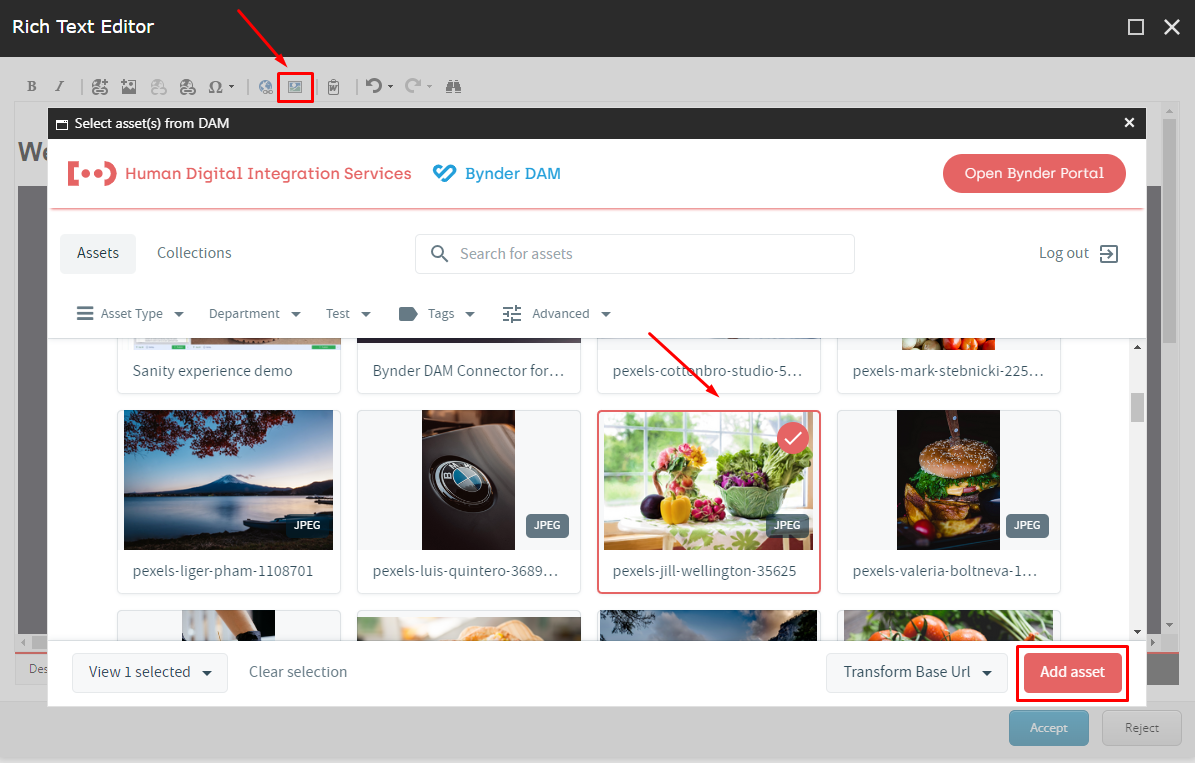
- The dialog has the opposite behavior in the following example. If you choose the right side icon, you will be able to add a new image from Bynder DAM. In case you try to add a file from Bynder, you will notice that the 'Add asset' button is enabled for the image only.
Selecting derivatives
If you want to add file asset from Bynder in the Rich-Text Editor, make sure that you have chosen public file asset and that the option 'Original' has been checked in the dialog.

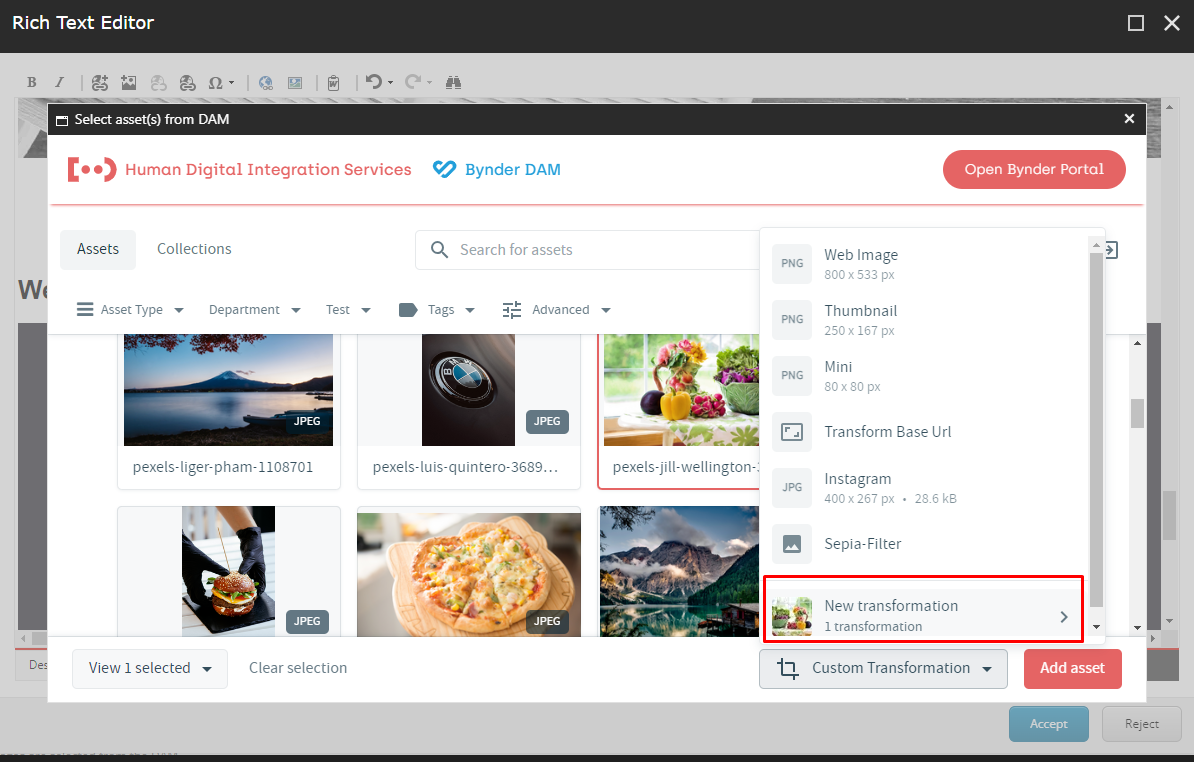
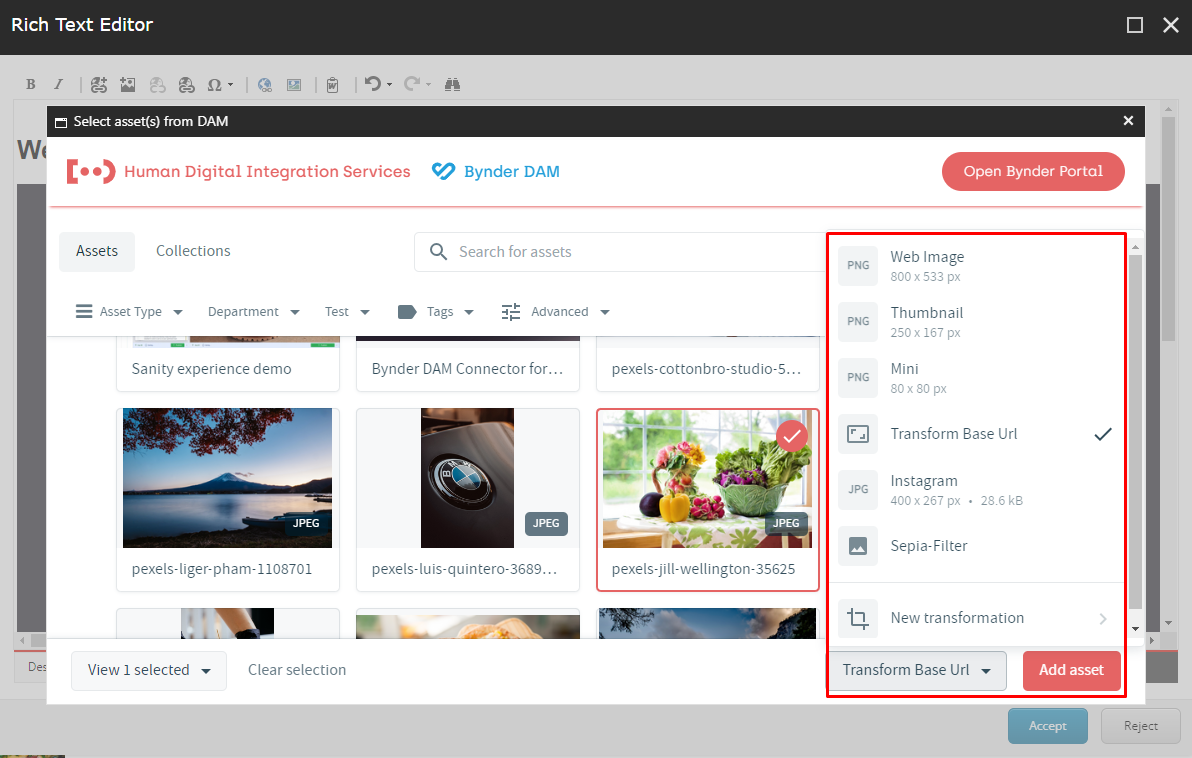
When you select an image asset, you will notice that there is 'Transform Base Url' option, next to the ‘Add asset’ button. This way, you can choose a different size of an image, apply the sepia filter, add new transformations and so on.
Using Dynamic Asset Transformations
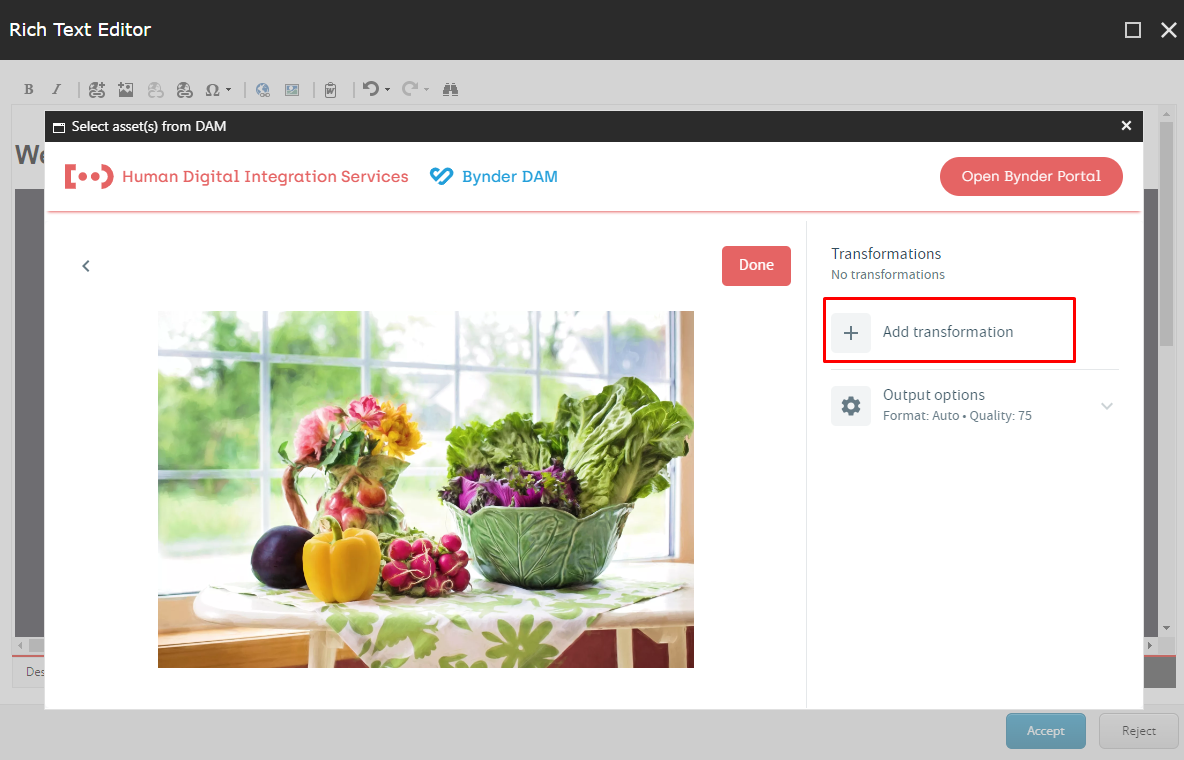
Another important feature that we provide is 'New transformation'. Asset transformations can be configured by the end user.
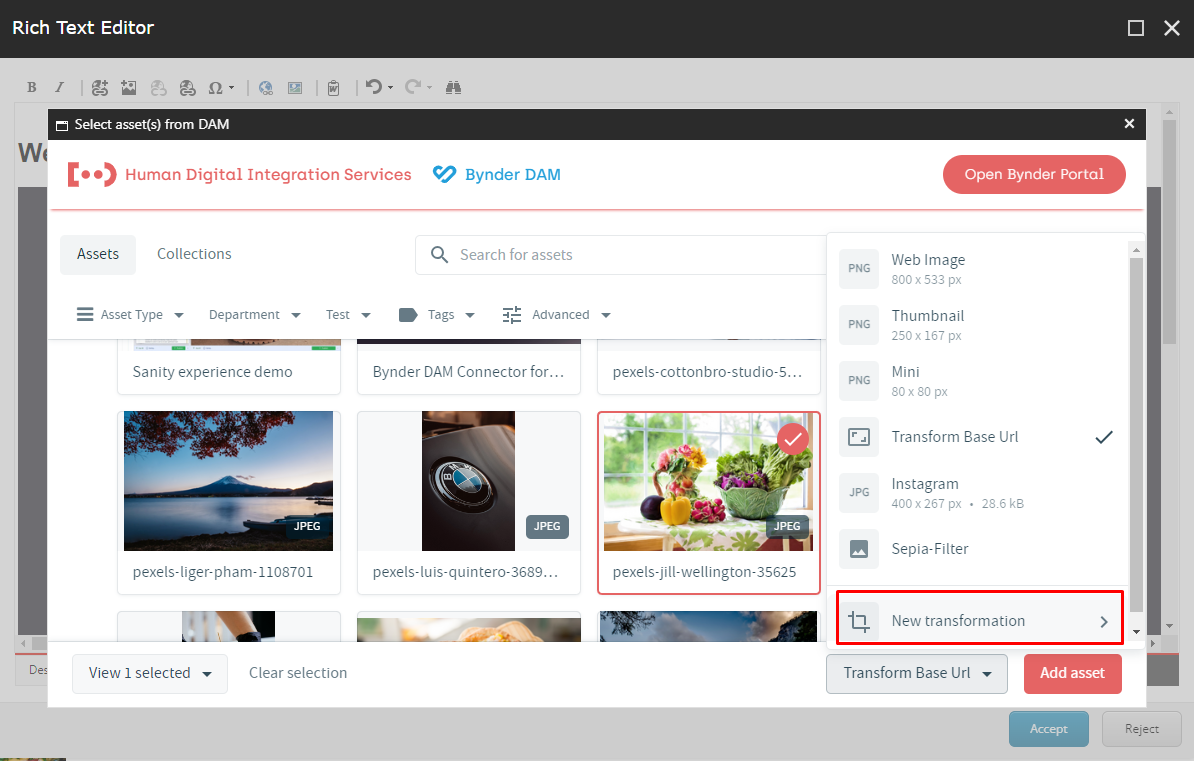
Select the 'New transformation' button and you will see the following screen. Then, choose the 'Add transformation' button to create one or more transformations for the chosen image asset.
Here, you can choose multiple transformations that we have provided and save your changes by clicking on the 'Apply transformations' button.
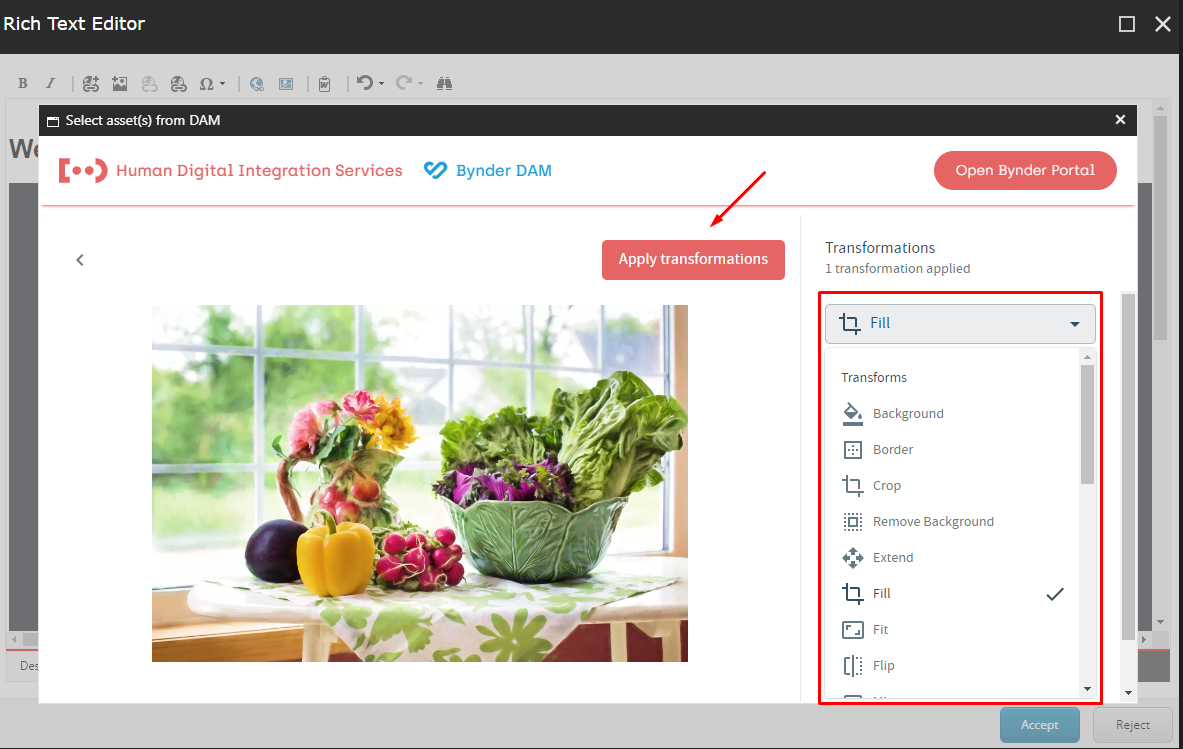
You will notice that your Custom Transformation is created for the chosen image asset. Then, if needed, you can add another transformation separately or apply multiple transformations at once.